In the world of Naruto, the Hiraishin Kunai is renowned not only for its teleportation ability but also for its distinctive design and symbolic significance, making it a favorite among many fans.

If you’ve ever wanted to create your very own kunai like the one used by the Fourth Hokage, this guide will show you how to make one using simple popsicle sticks.
Through this fun and creative DIY project, you’ll not only enjoy the process of making it but also transform your love for Naruto into a unique handcrafted piece. Let’s get started on crafting your very own Hiraishin Kunai!

I created a design of the Thunder God Sword in Photoshop, determined the basic dimensions, and printed it out.
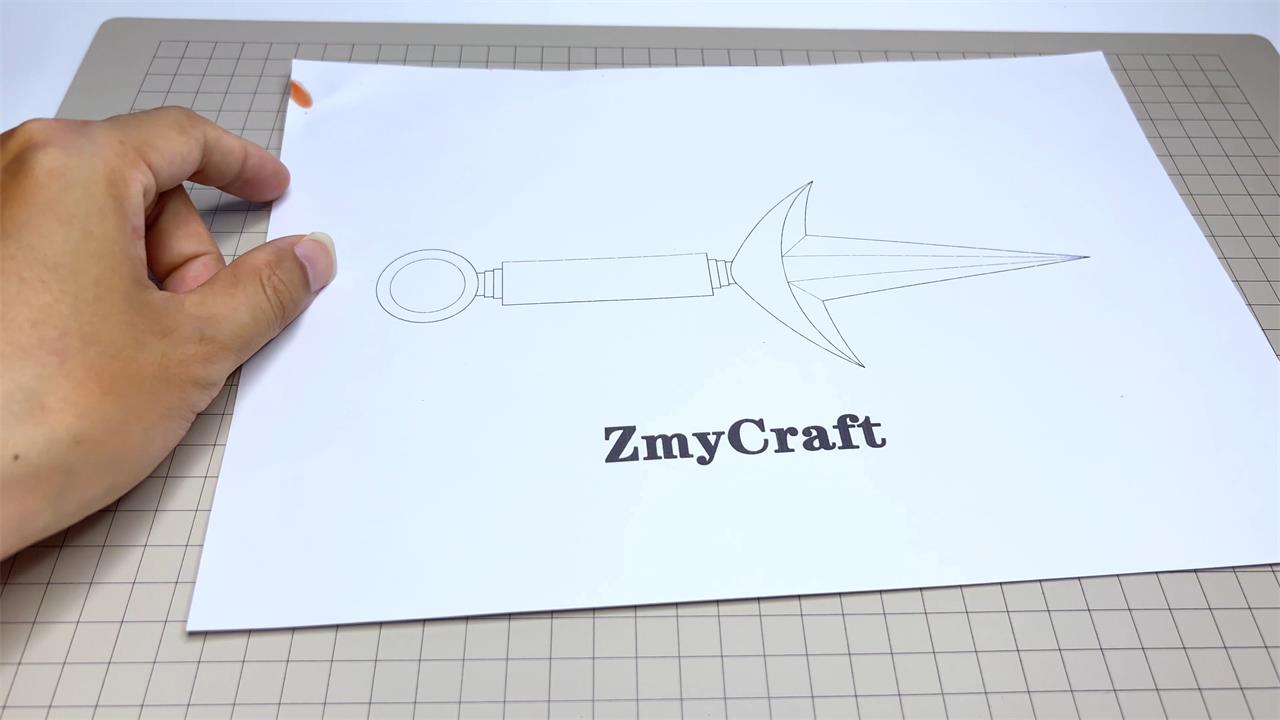
You can download this blueprint from the Google Drive link I shared.
After tracing the Thunder God Sword outline onto the white paper with a carving knife, remove it.
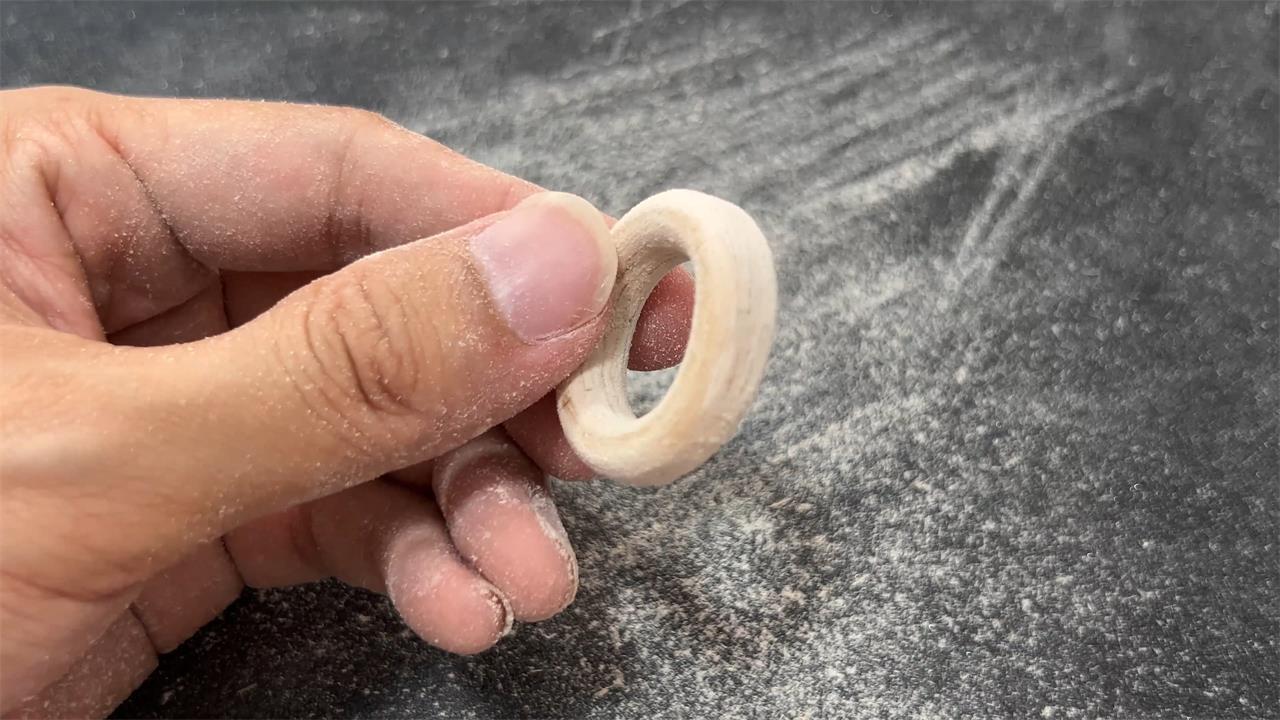
Now, let’s make the ring part of the Thunder God Sword. Use a compass to draw concentric circles, then drill a hole of about 20mm in the center. Cut away the excess edges.
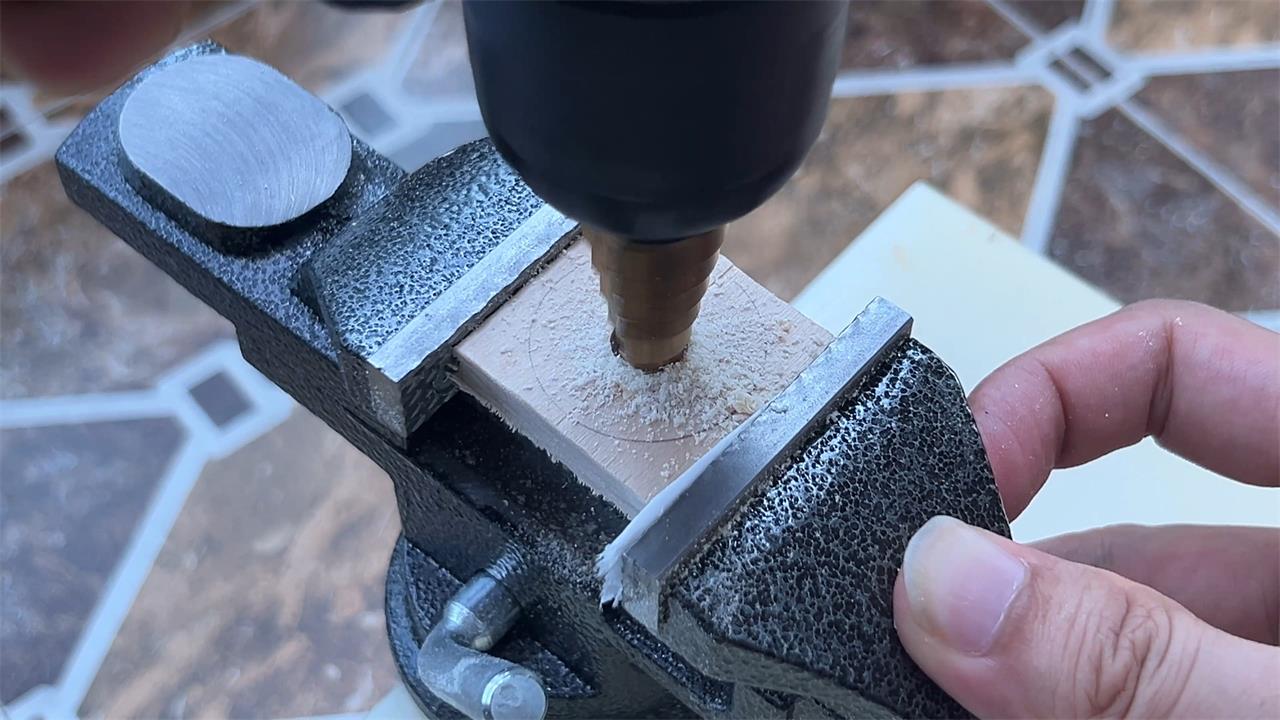
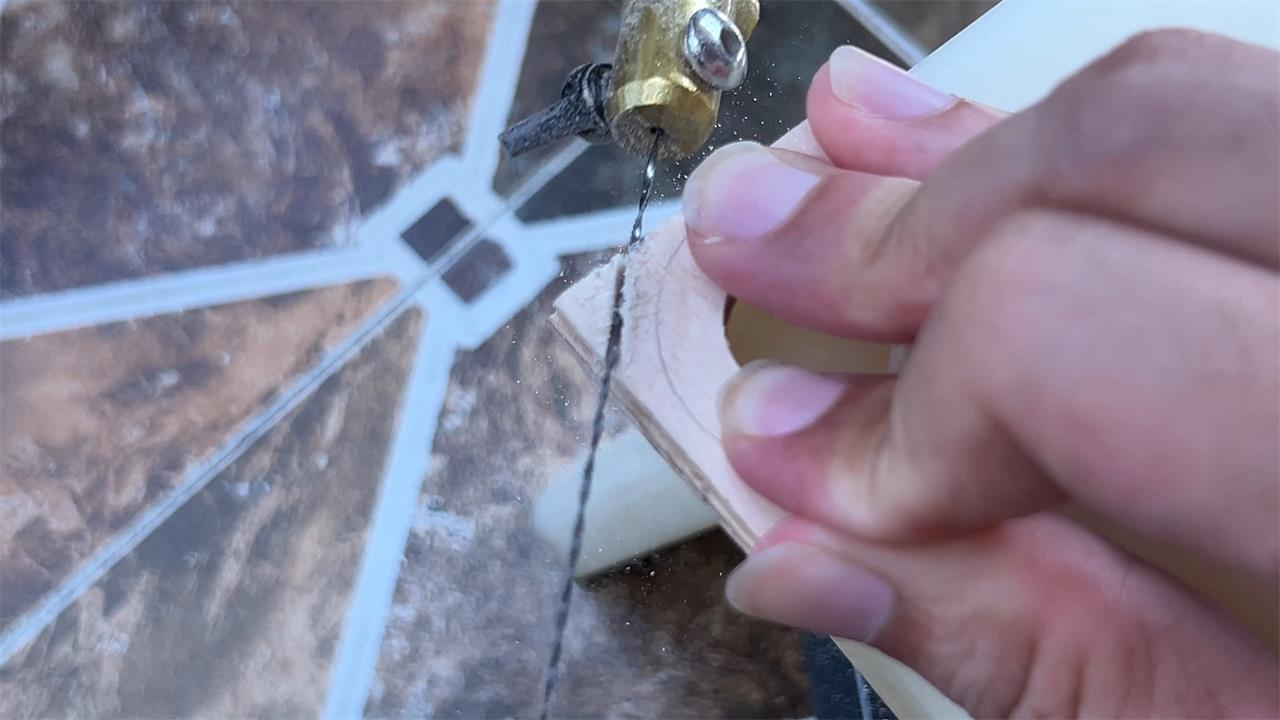
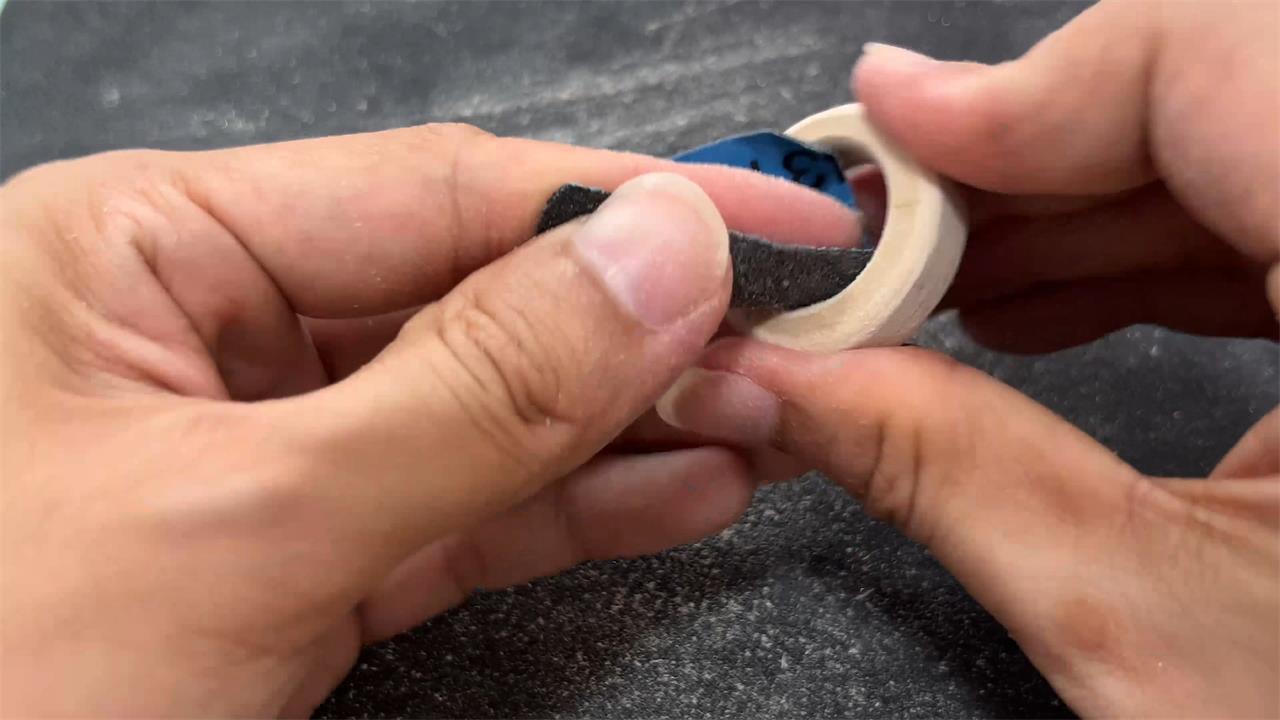
Next is the sanding process. Use sandpaper with varying grits, starting from coarse to fine. Gradually shape it closer to the ring, and finish by polishing with fine sandpaper.
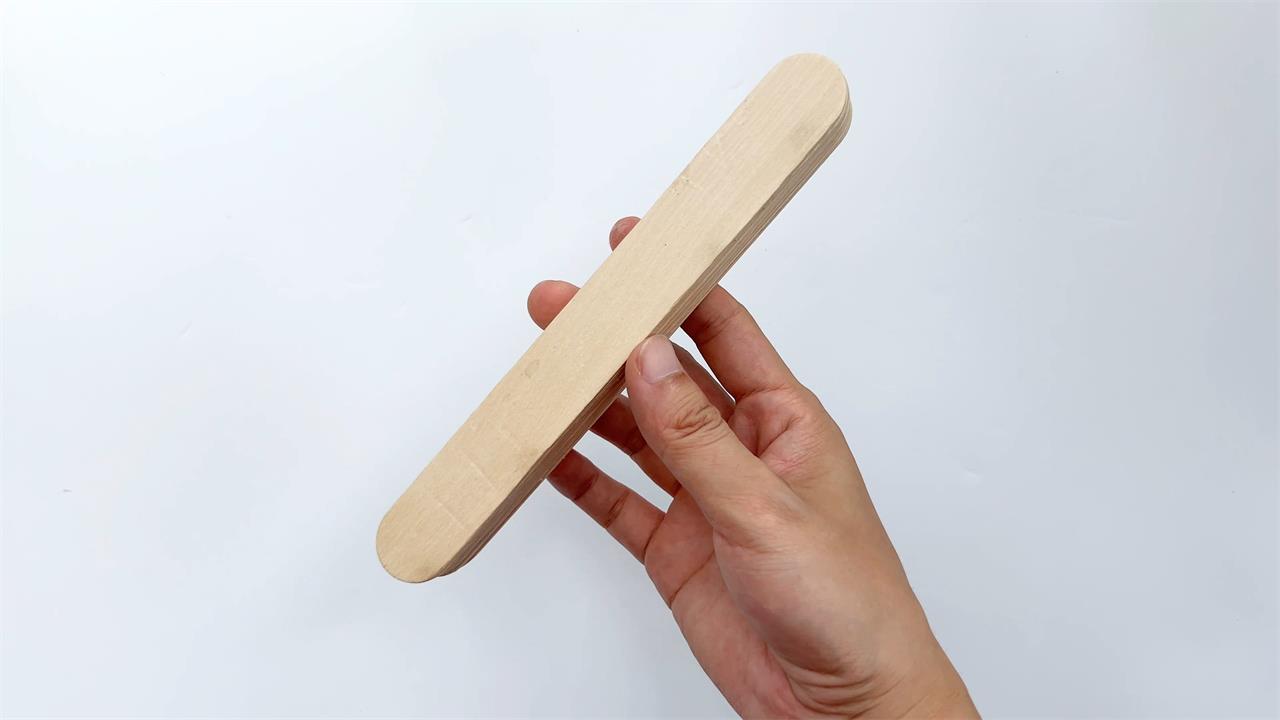
For the handle, I used 13 large popsicle sticks, which were glued together with Elmer’s glue and left to dry under pressure for a day.
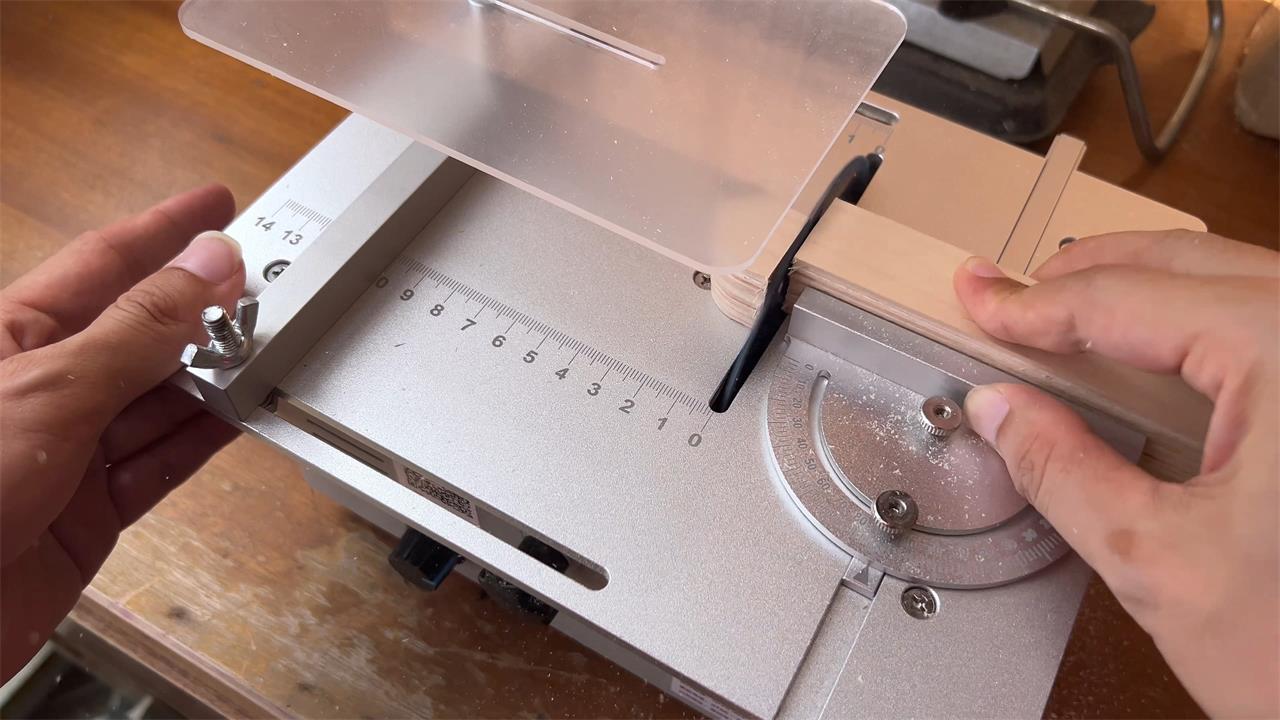
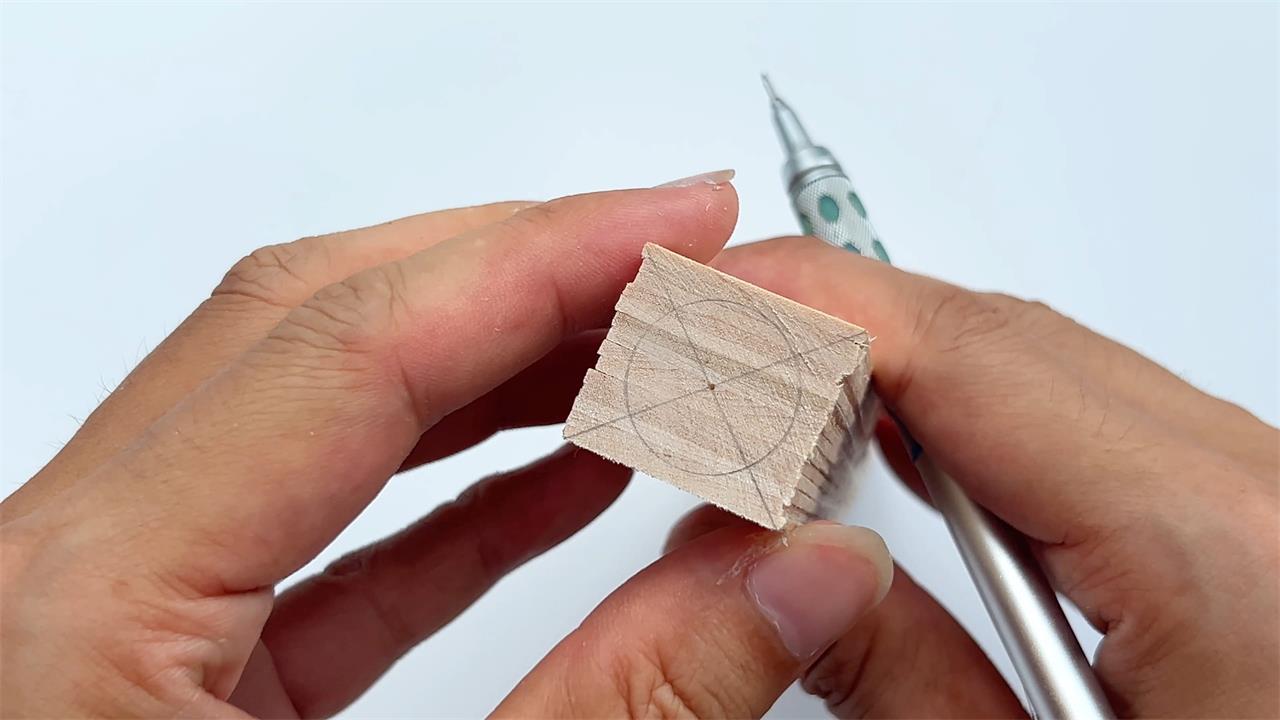
Next, using a table saw, I cut off the rounded edges on both sides. To find the center point, I drew intersecting lines with a pencil at both ends and used a compass to draw a circle with a diameter of 18 cm.
I then used a mini lathe to shape the popsicle sticks, carving them into the desired form. Unfortunately, the metal guard on the lathe wasn’t long enough, so to maintain stability, I carved the handle in sections.
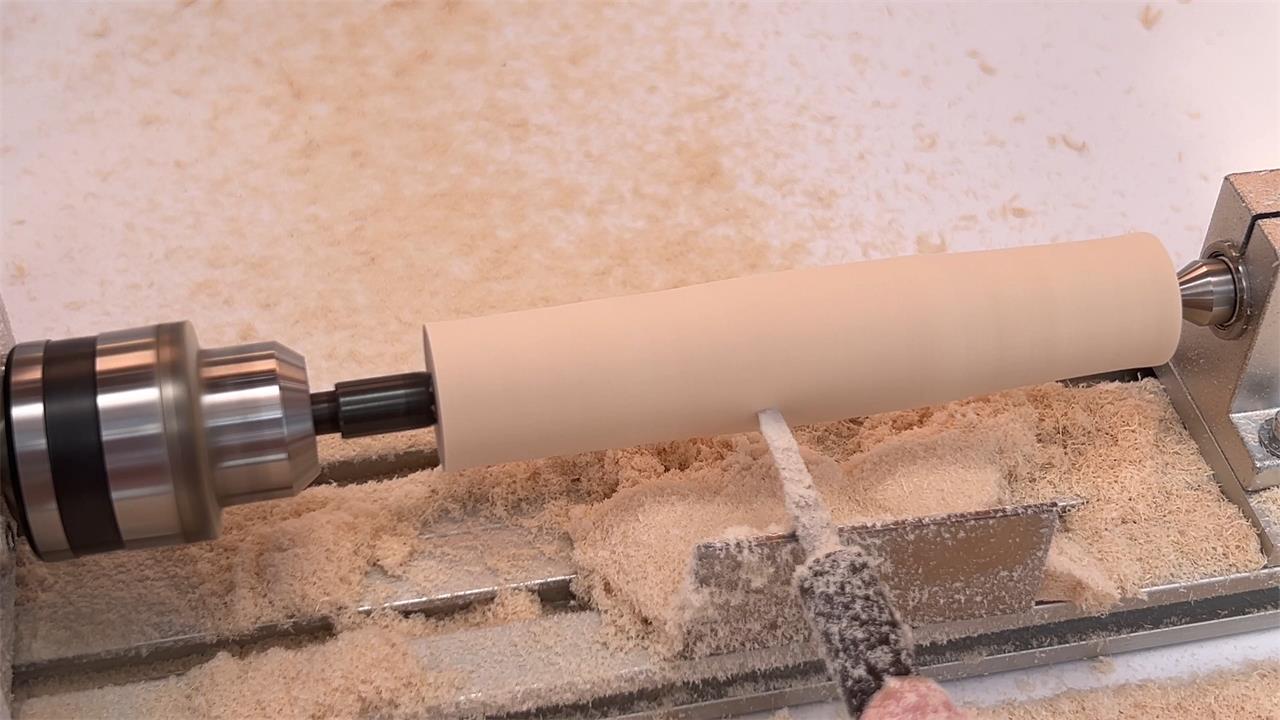
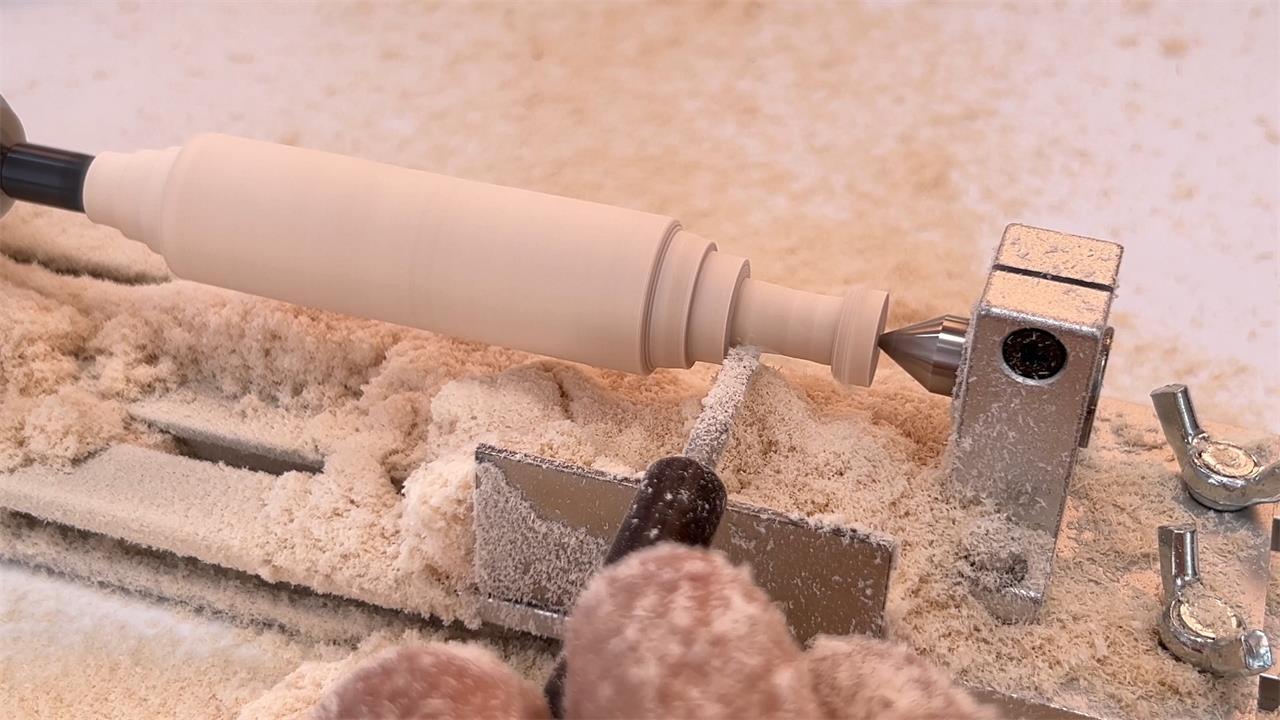
Finally, I polished the handle with 5000-grit sandpaper to achieve a smooth and refined finish. The feel of the handle is quite impressive.
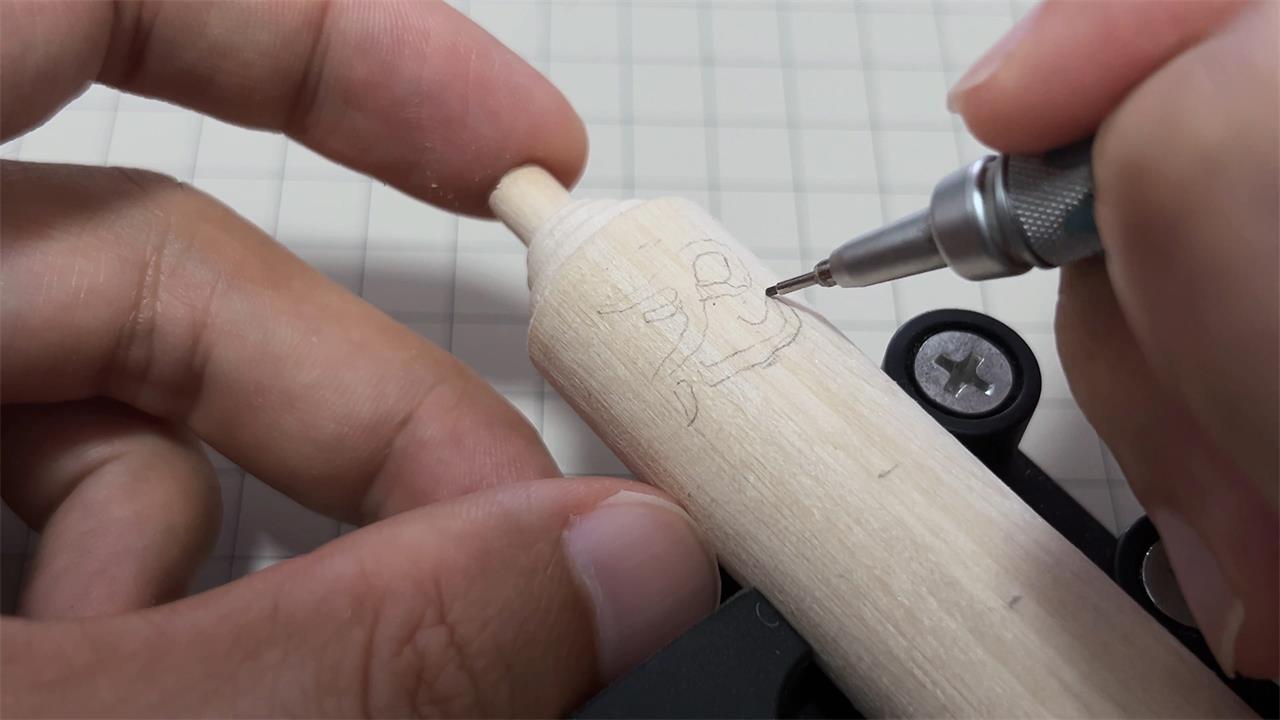
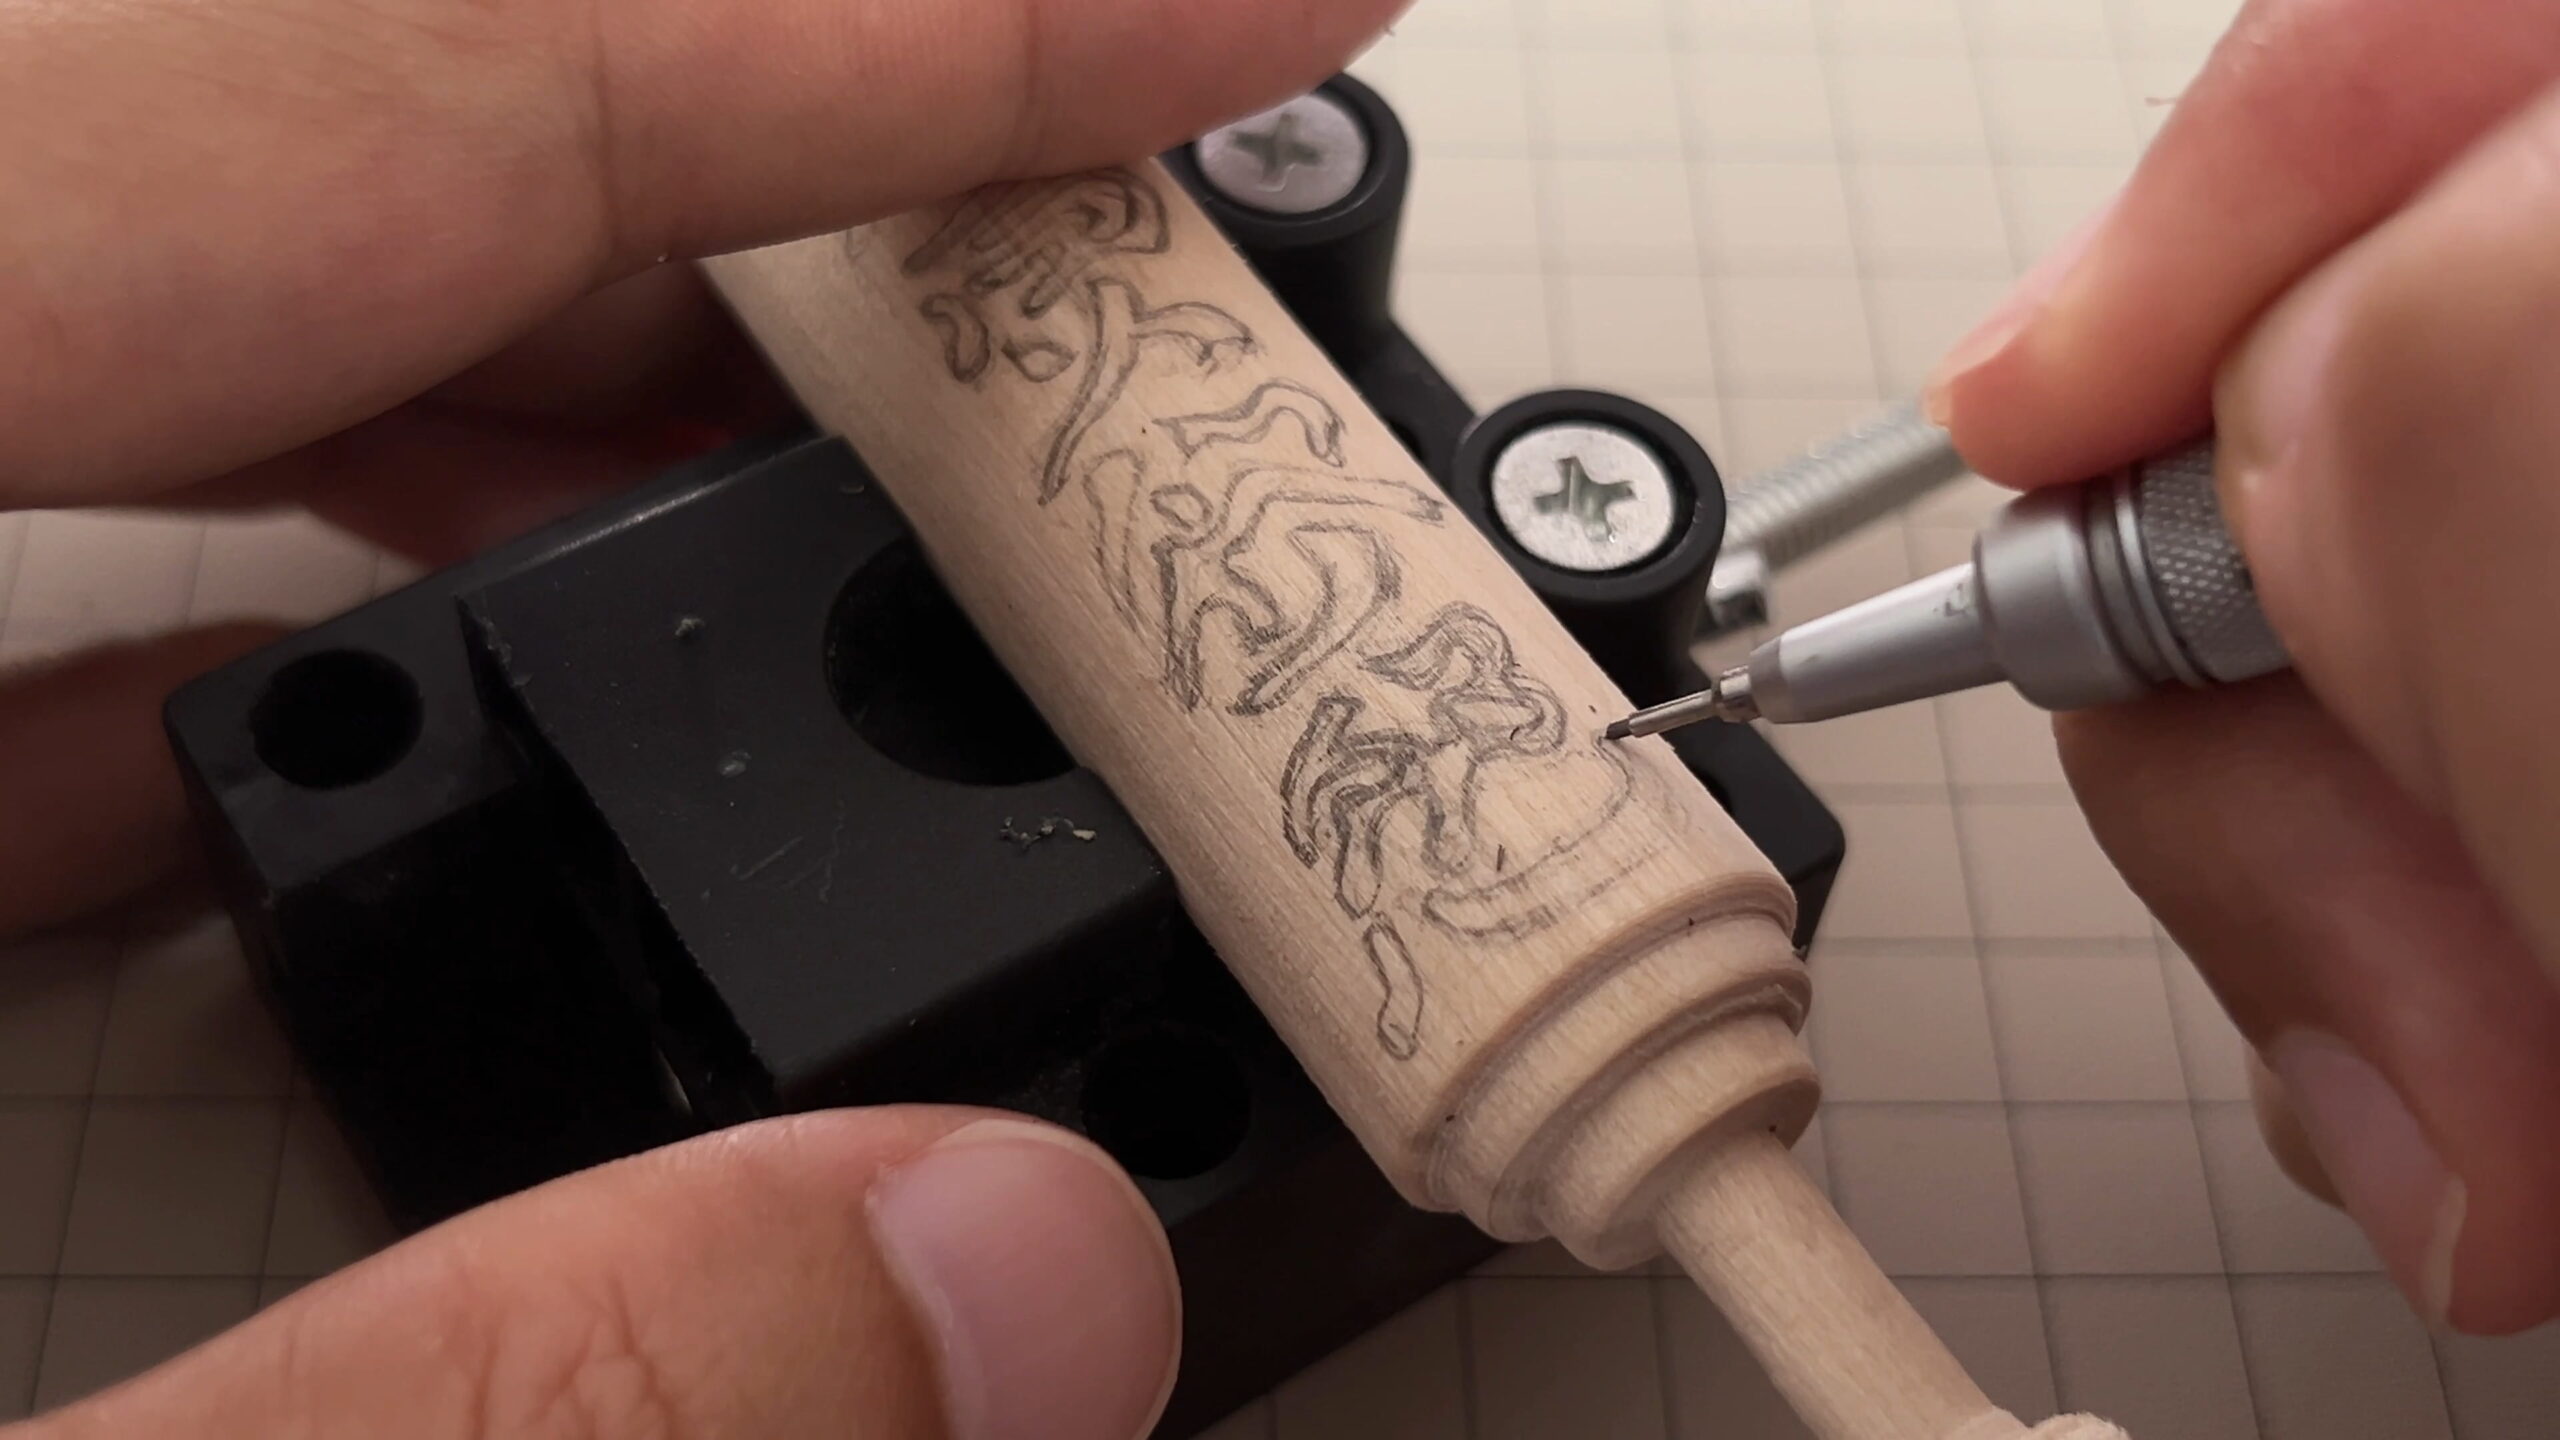
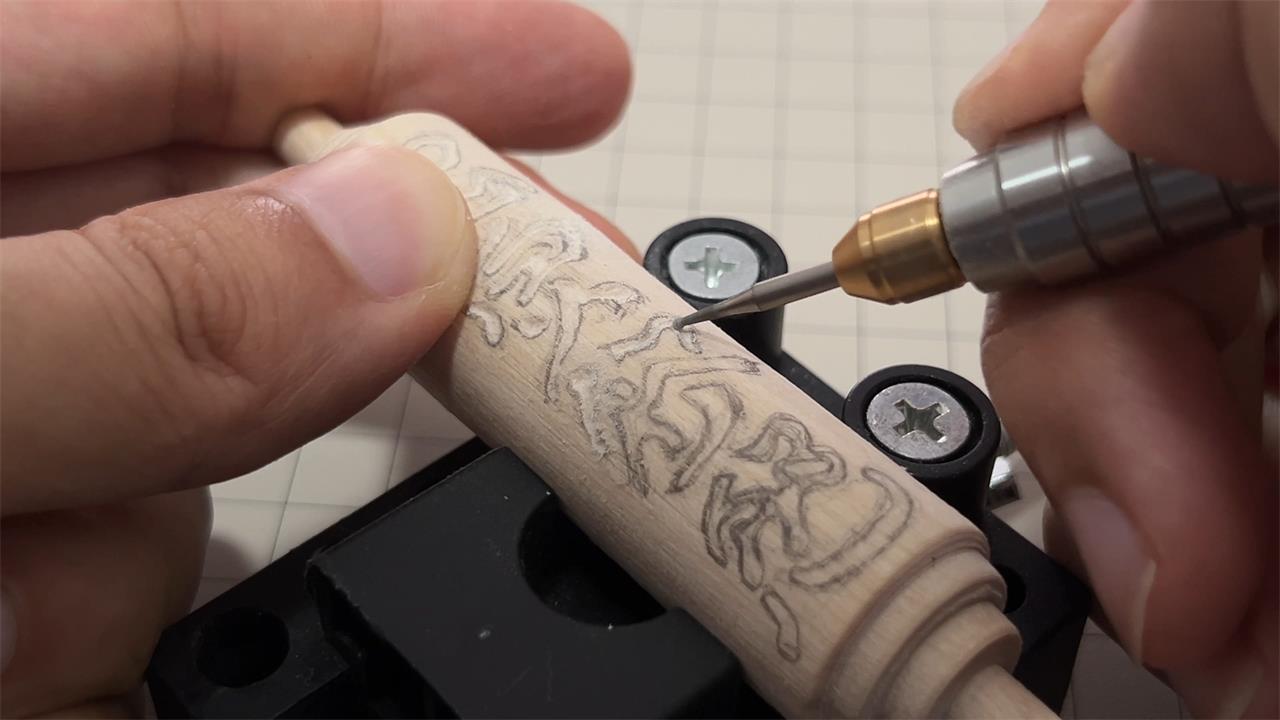
Next, I need to engrave four characters onto the handle. First, sketch the outline with a pencil, then carefully carve it with a carving tool. Be patient and take your time—I believe you can do an excellent job.
First, we create the blade by layering five popsicle sticks per layer. I used seven layers here. After bonding, it must be pressed flat with a tool and left to rest for a day. I used a stack of stools to press it down, and the result was quite good. After a day, remove the bonded wood and attach a piece of white paper with the knife blade outline. Draw the outline on the wood with a pencil.

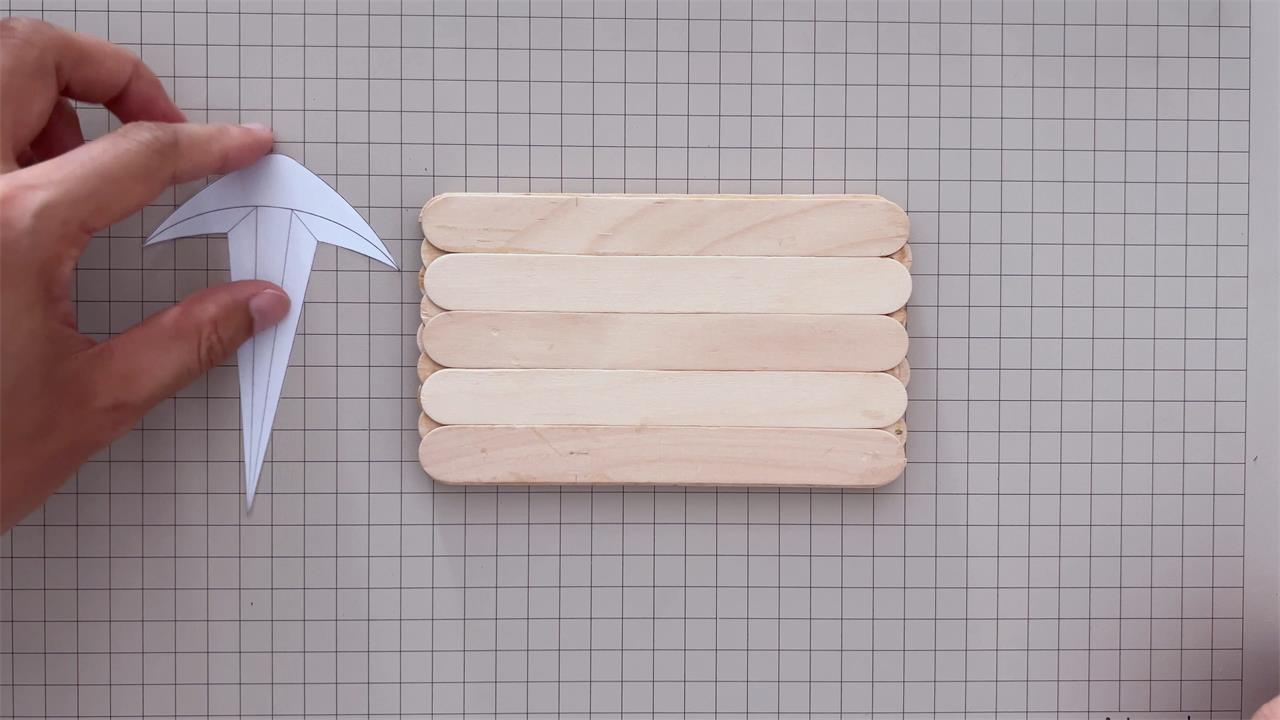
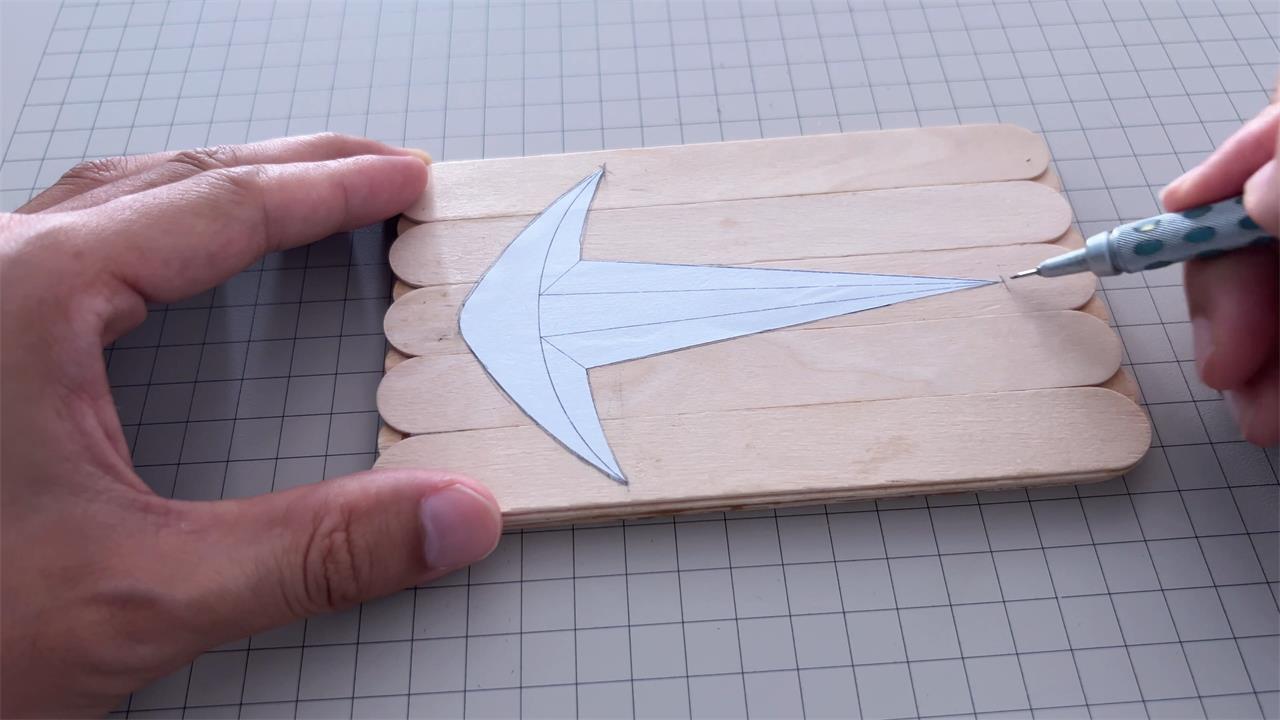
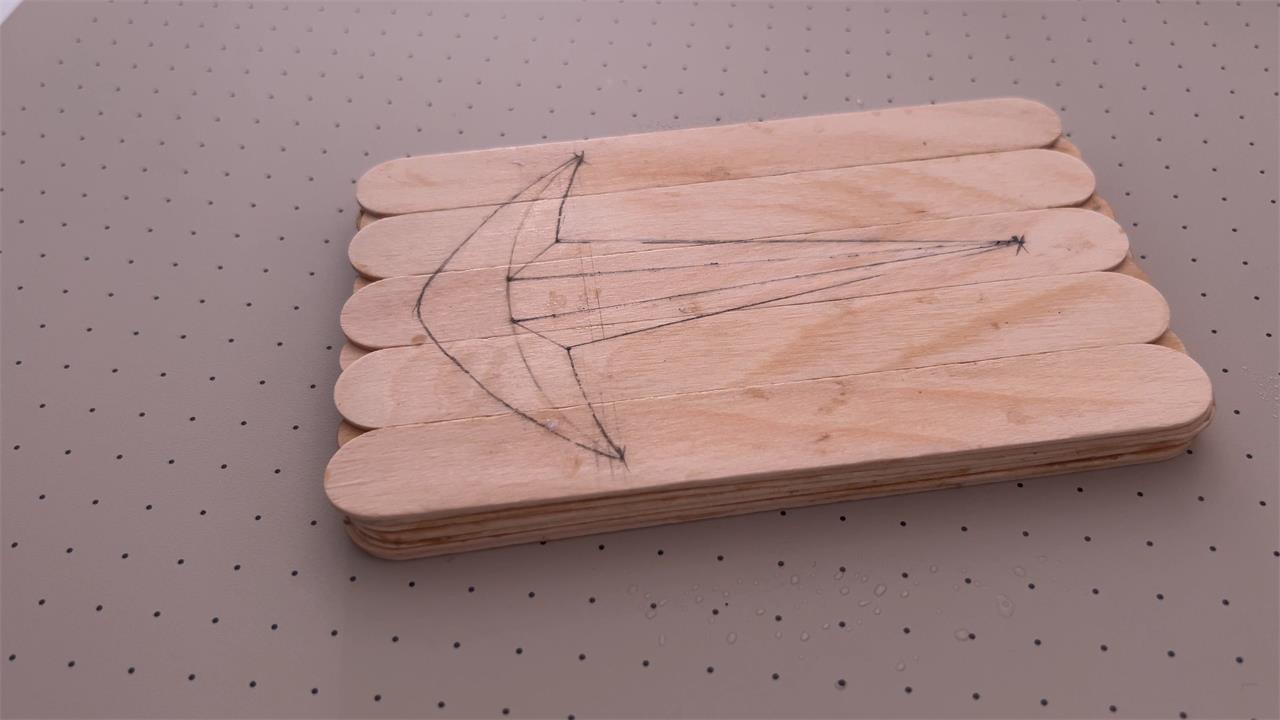
Cut away the larger edges with a table saw, then use a handsaw to remove the smaller, unnecessary edges.
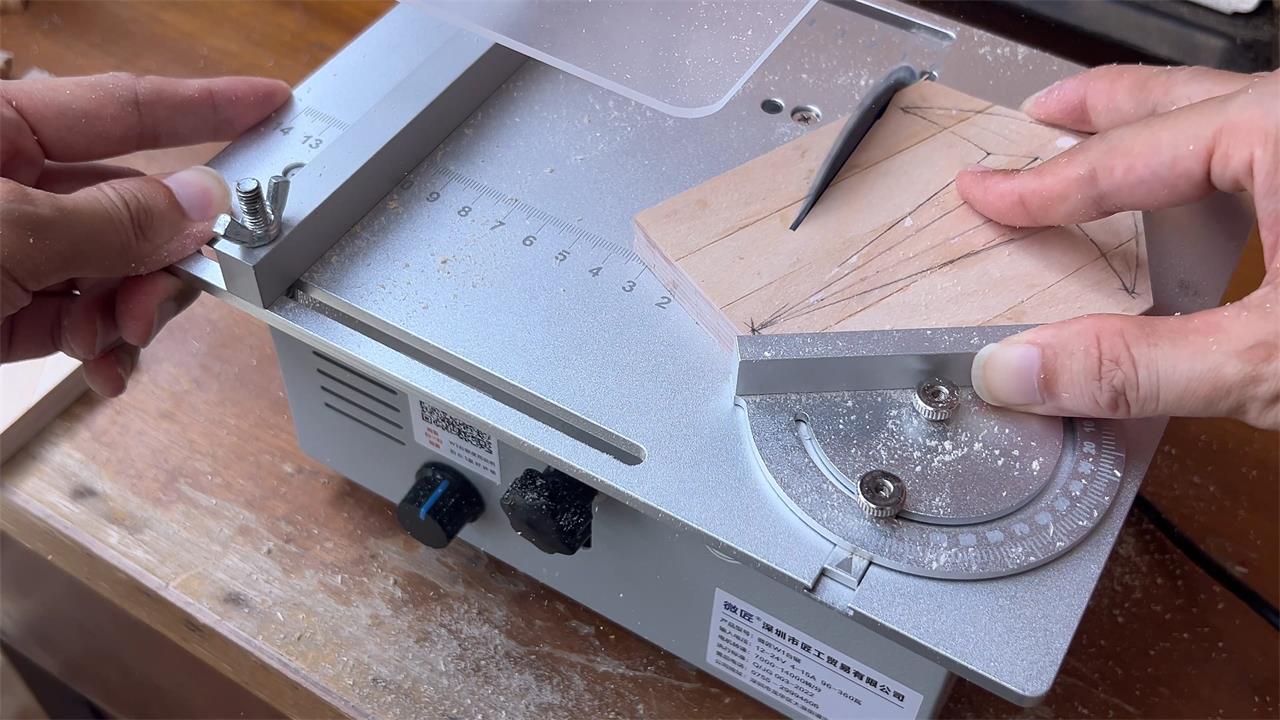
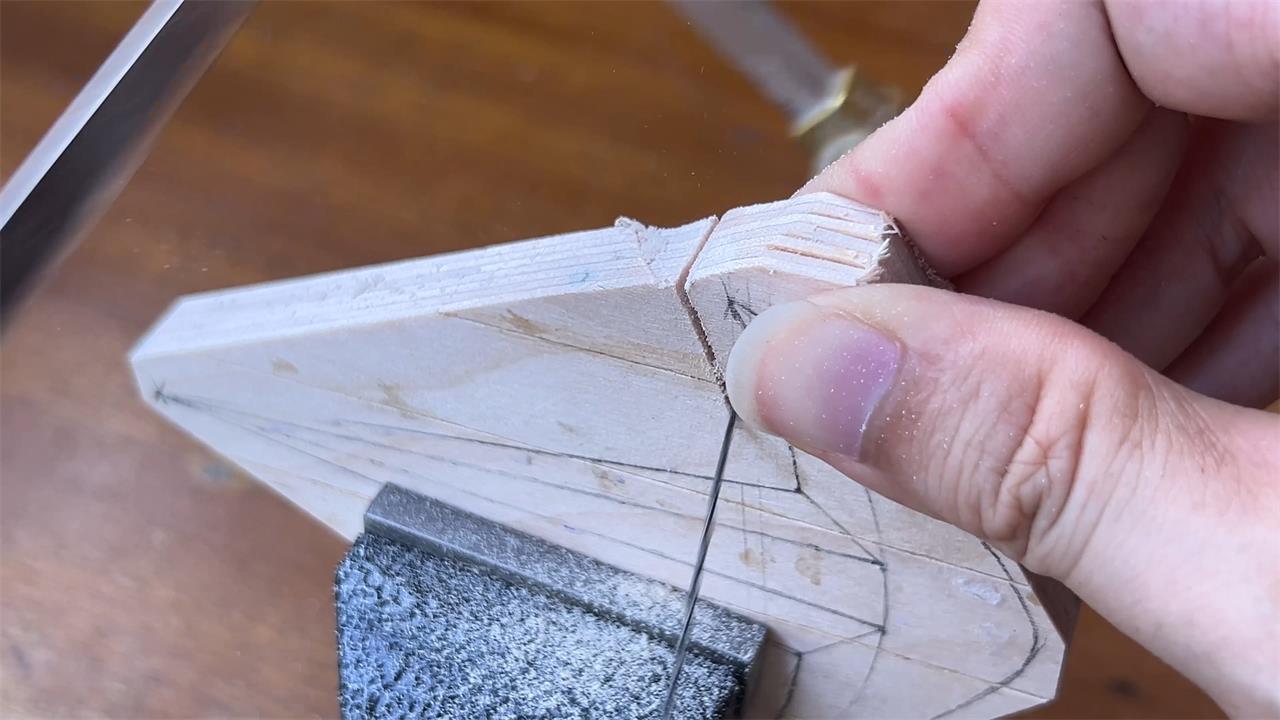
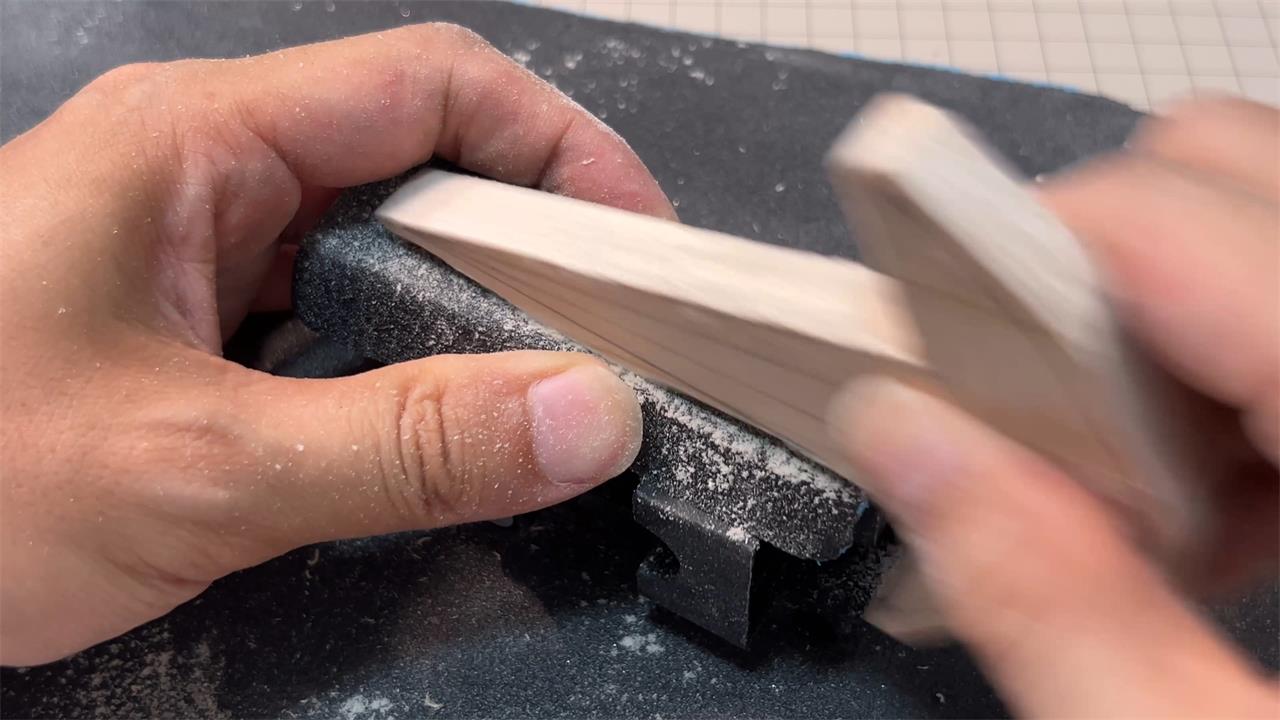
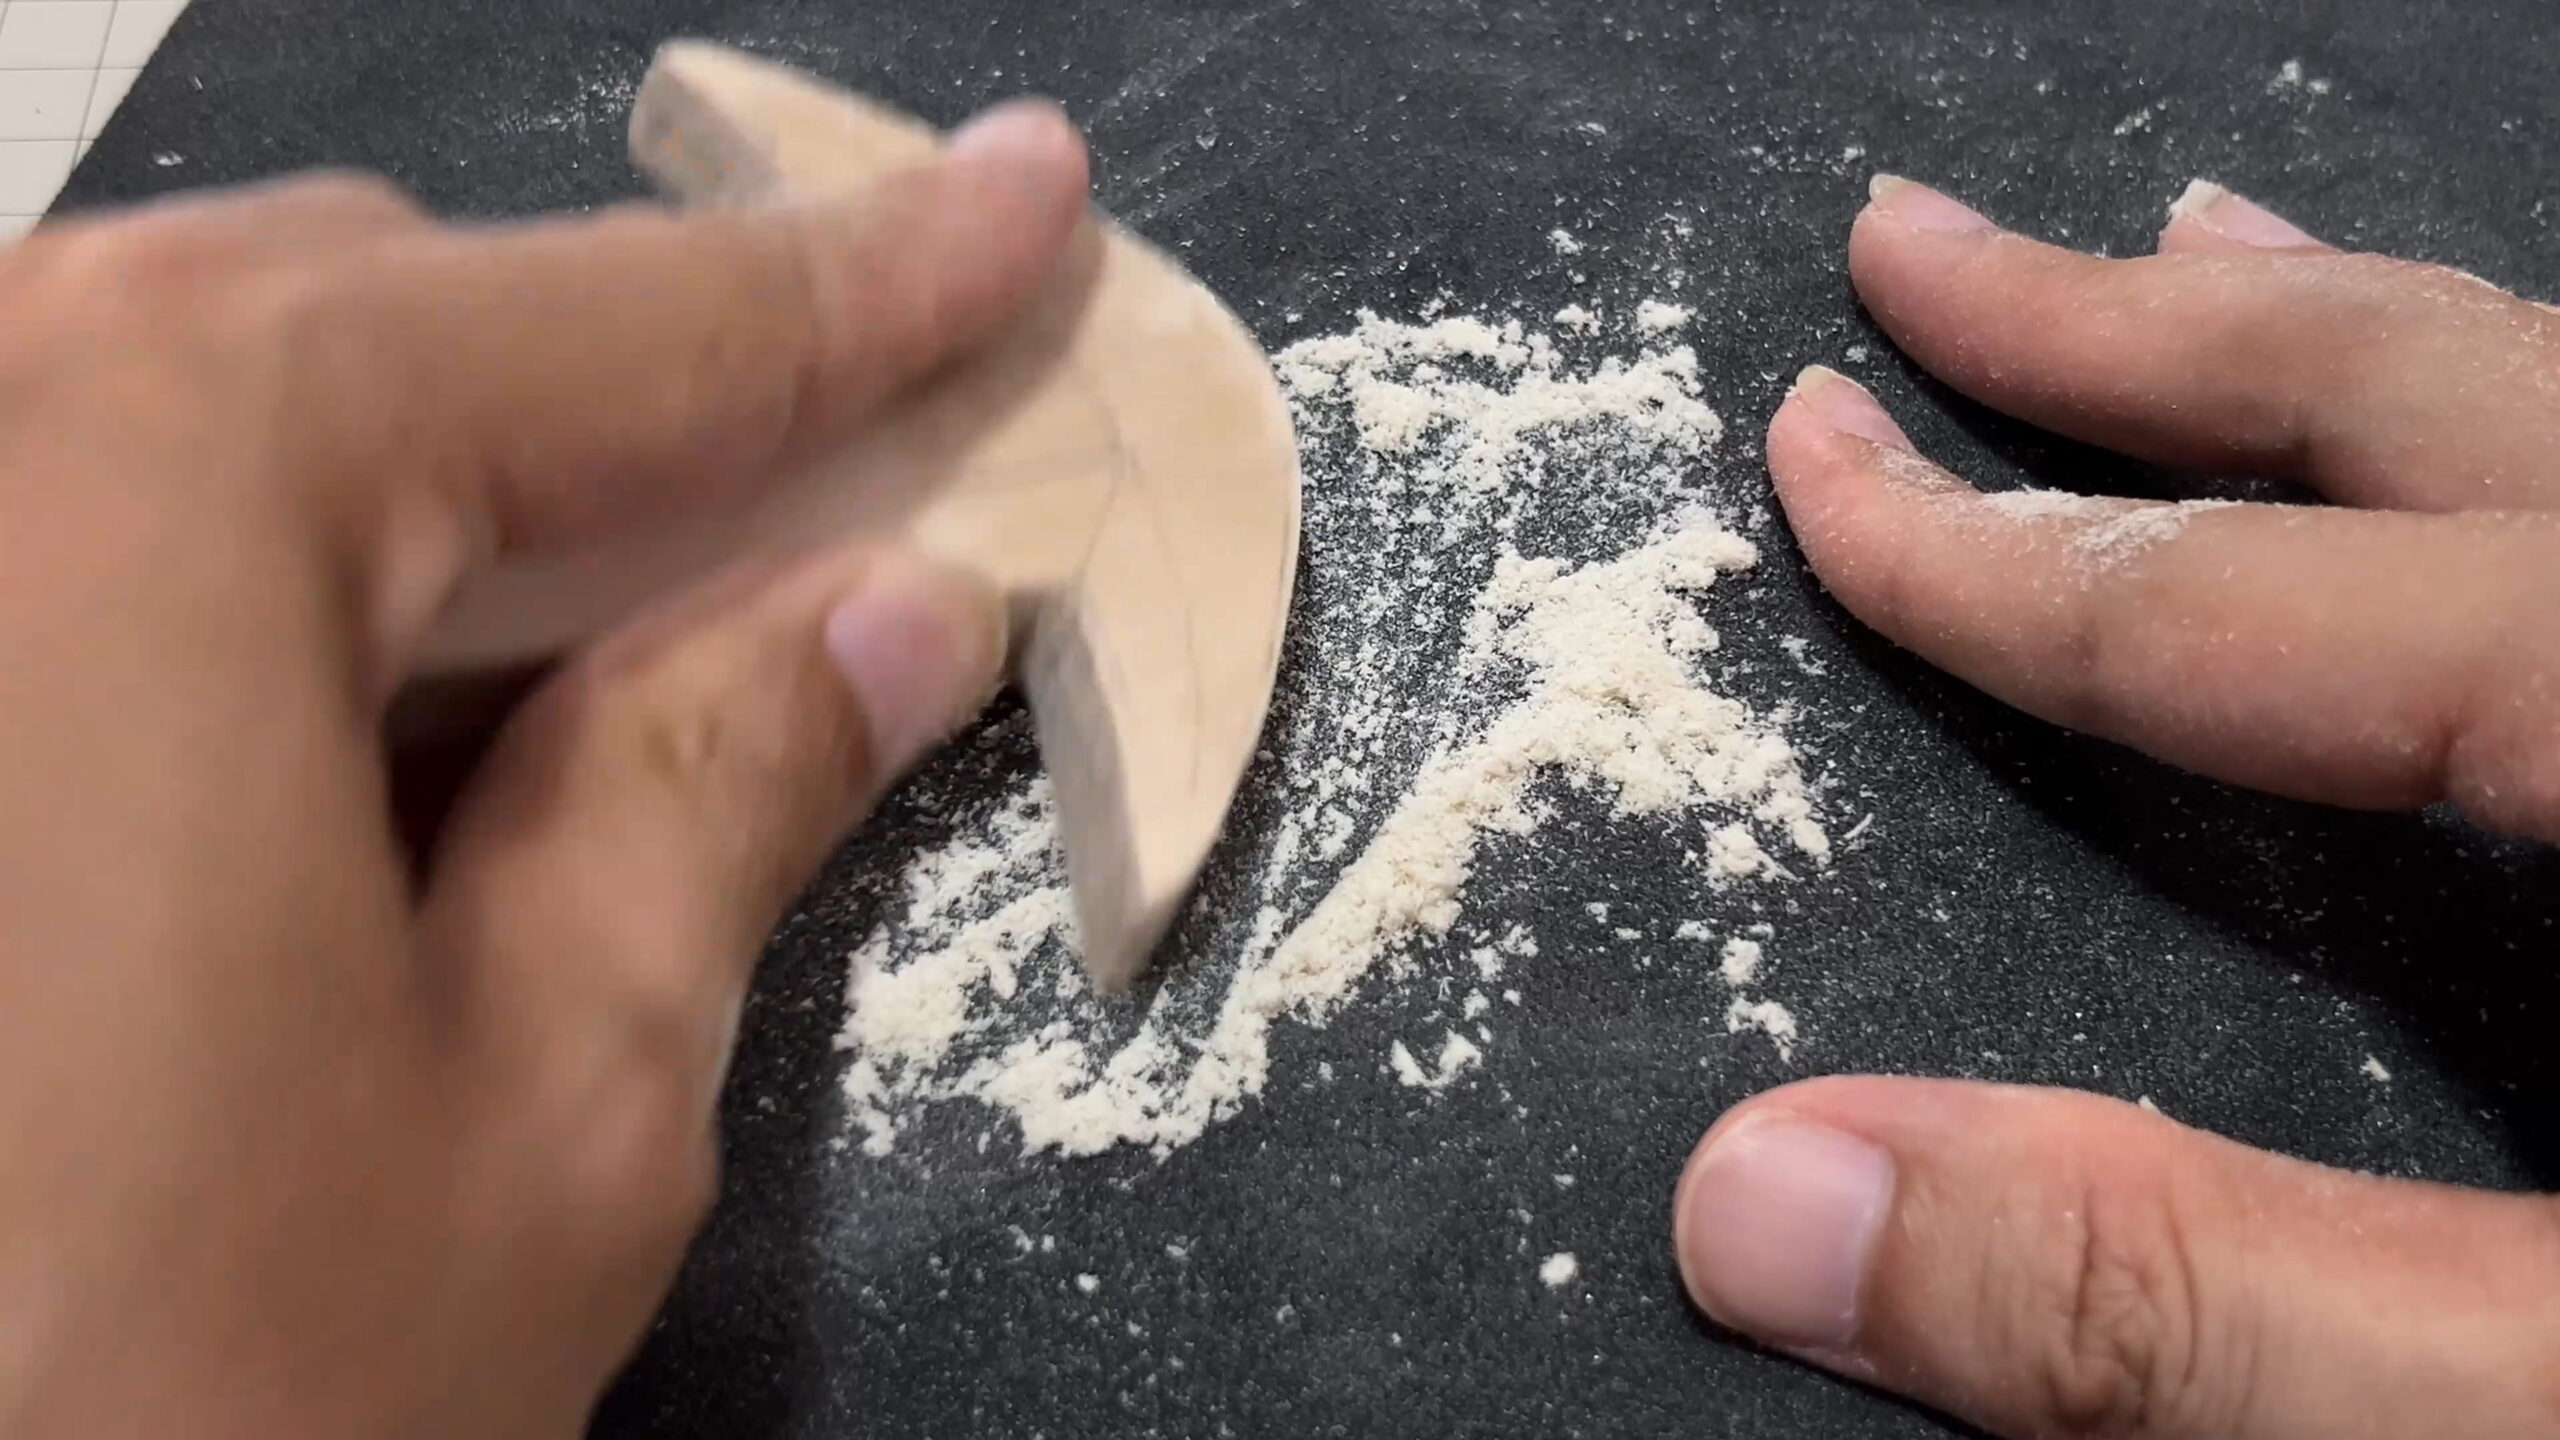
Carefully sand along the drawn lines until the blade contours meet our satisfaction. For curved sections, use a carving knife to carefully sculpt, then sand smooth and even with sandpaper.
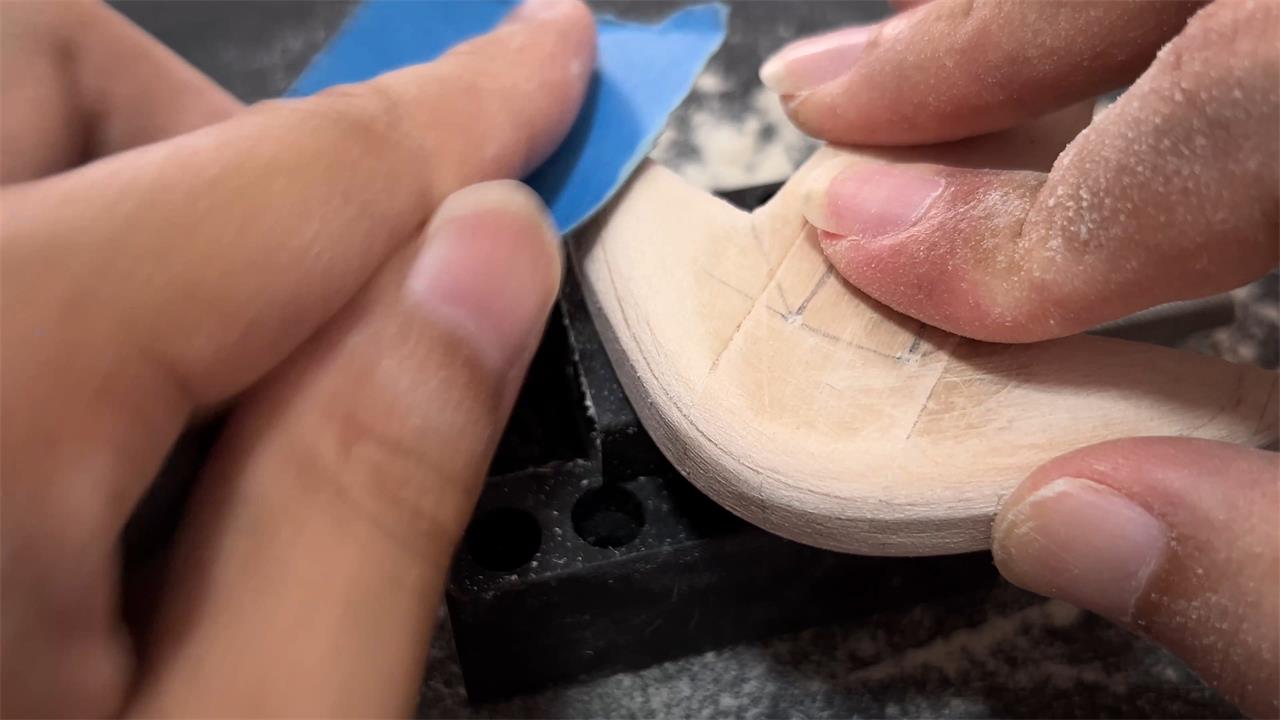
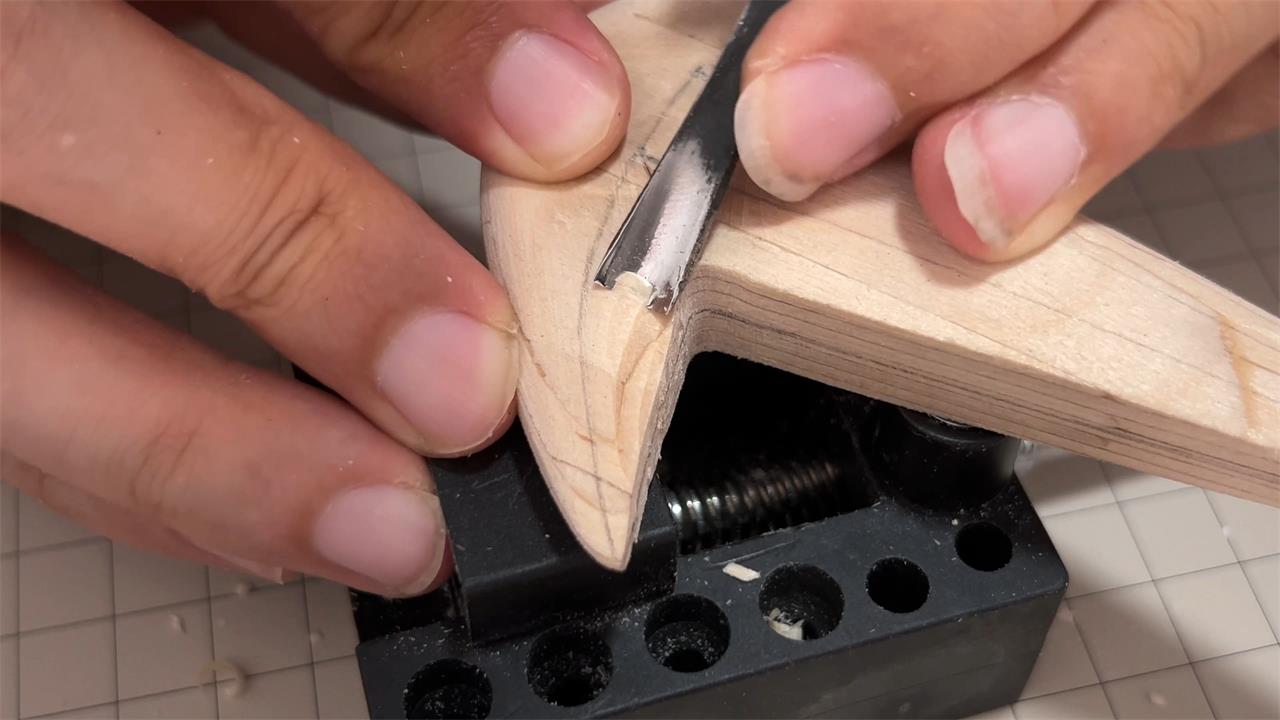
Finally, engrave a Naruto logo at the top of the blade.
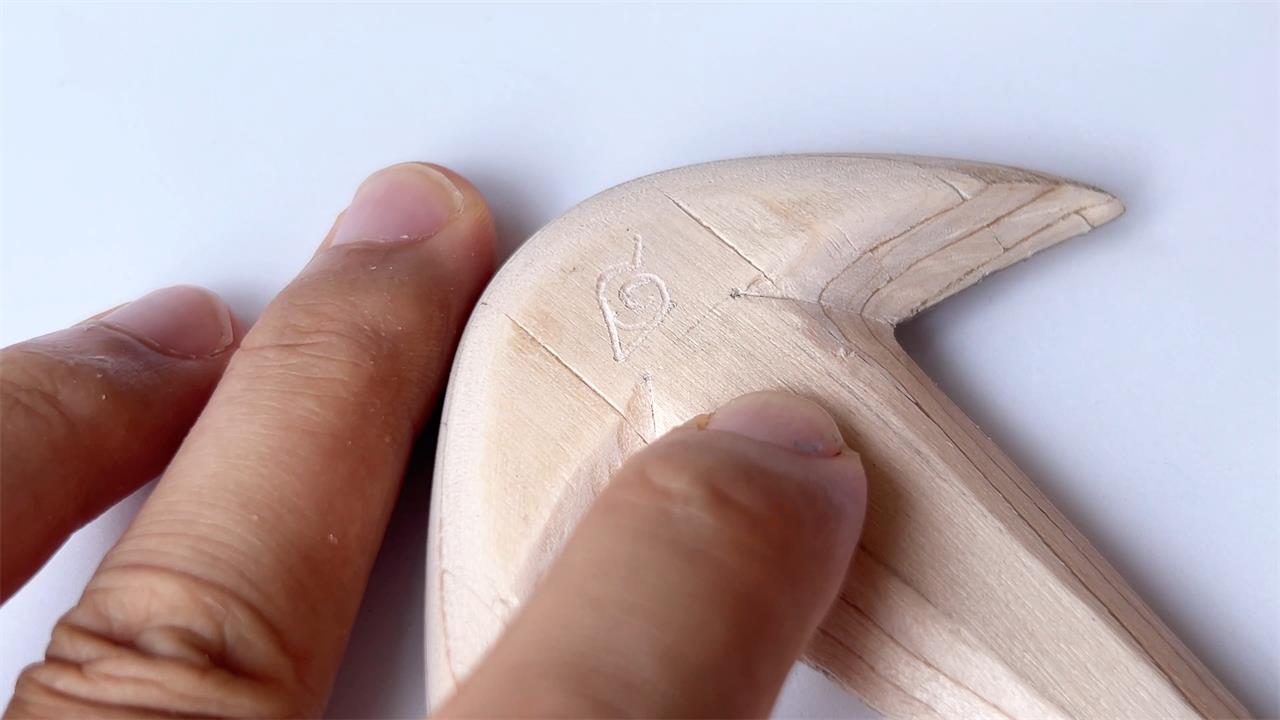
Drill holes for joining, and after drilling, use wire and strong adhesive to secure the joints.
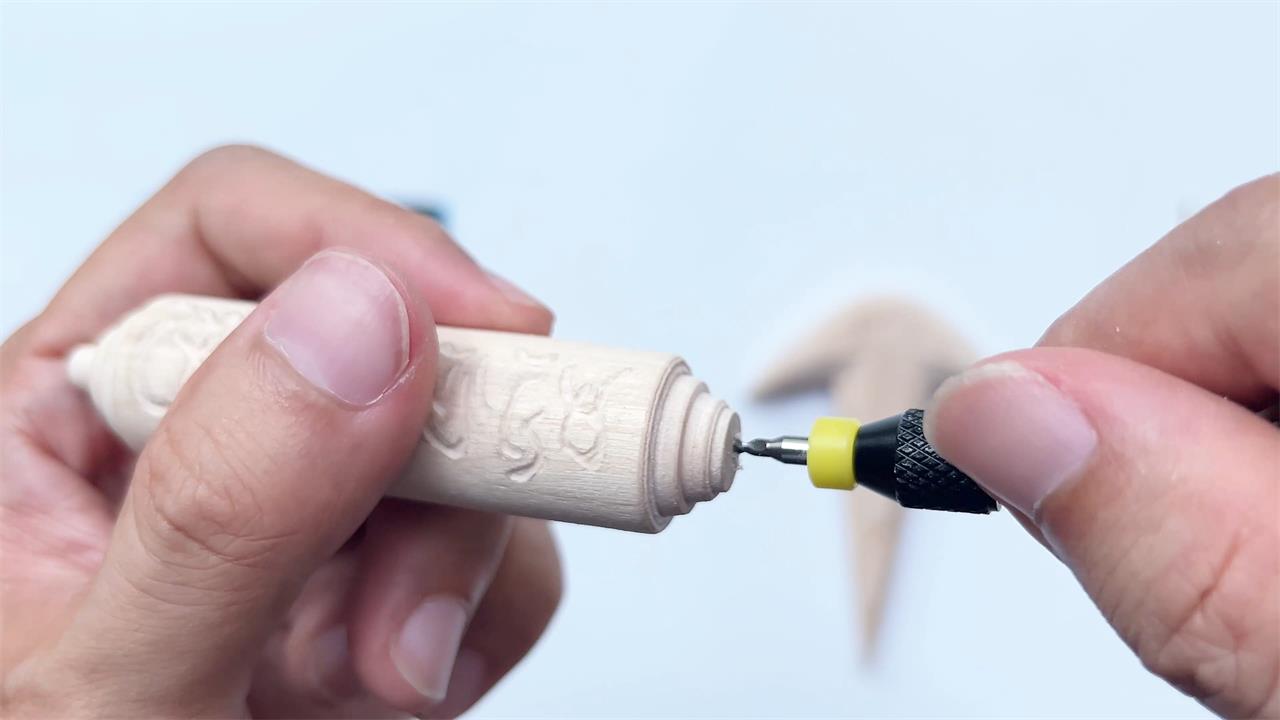
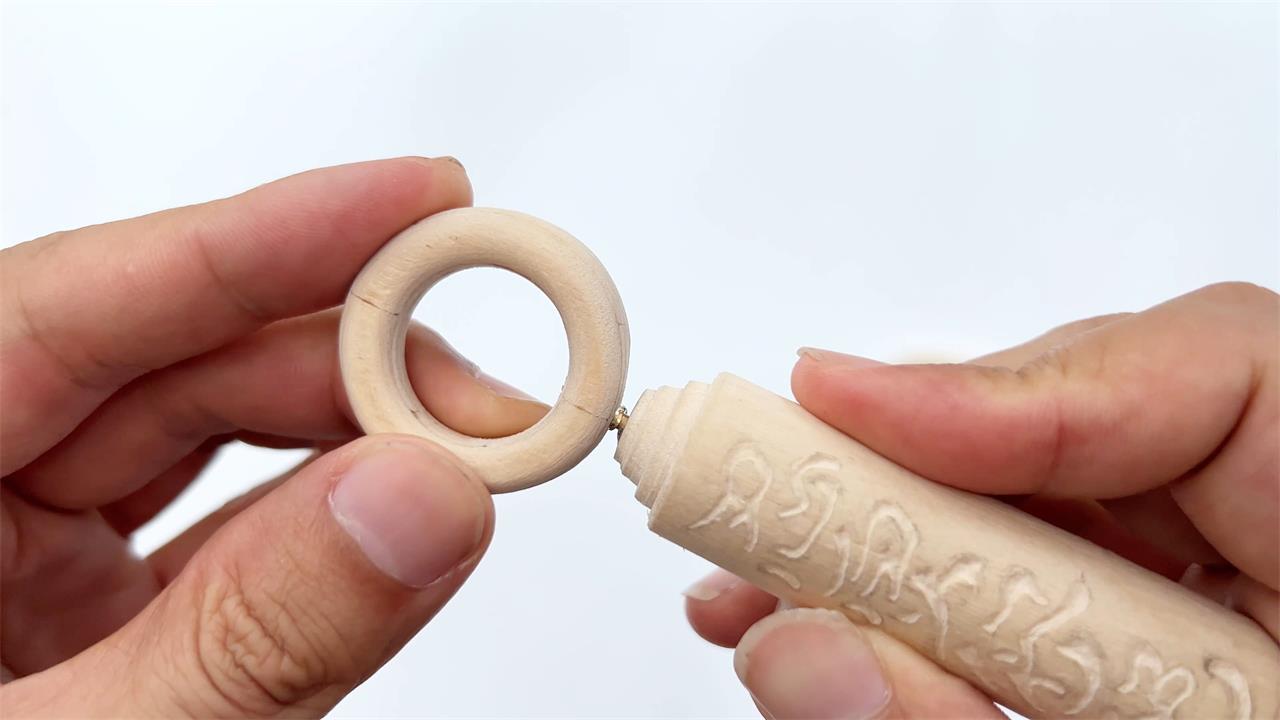
Painting is a crucial final step in completing the project, and it really brings the piece to life.
I first sprayed the entire piece with dark gray paint, then used painter’s tape to mask off different areas for additional spraying. In the end, you can see that the handle is rose gold, the ring is dark gray, and the blade features a mix of silver and dark gray. After letting it sit for a while to dry, I used a small brush and ink to highlight the text on the handle, making it stand out more.
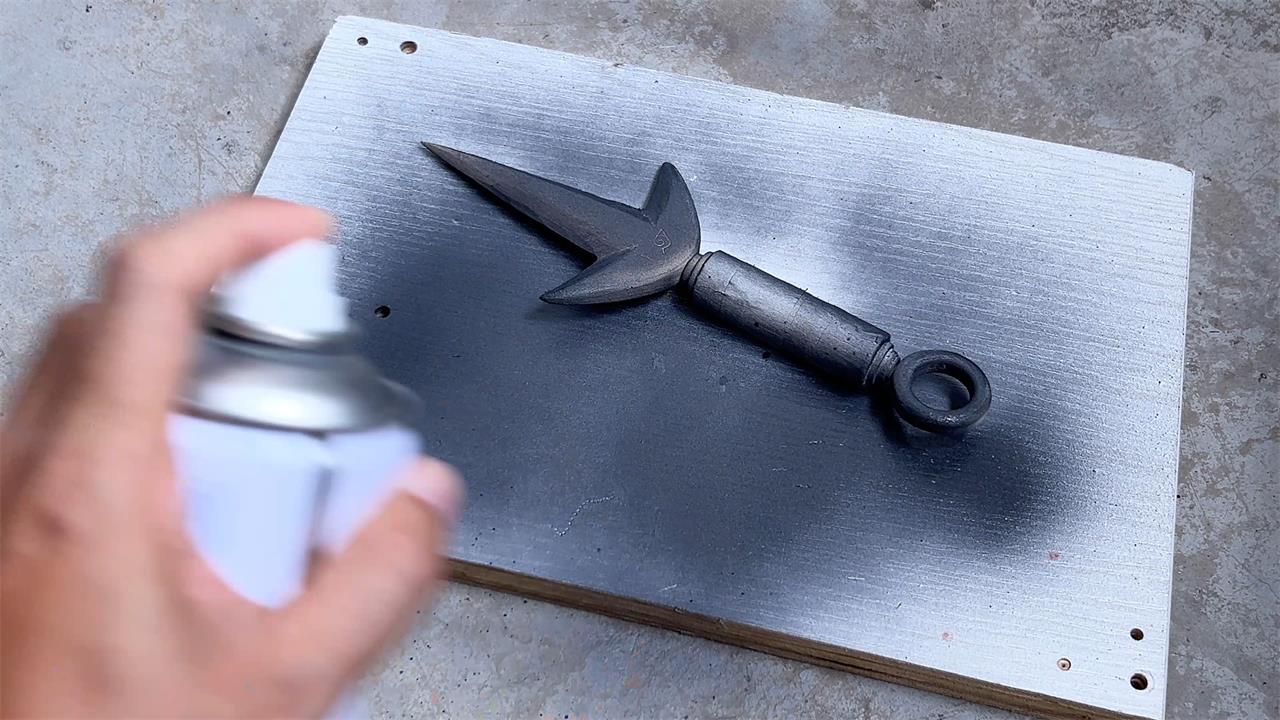
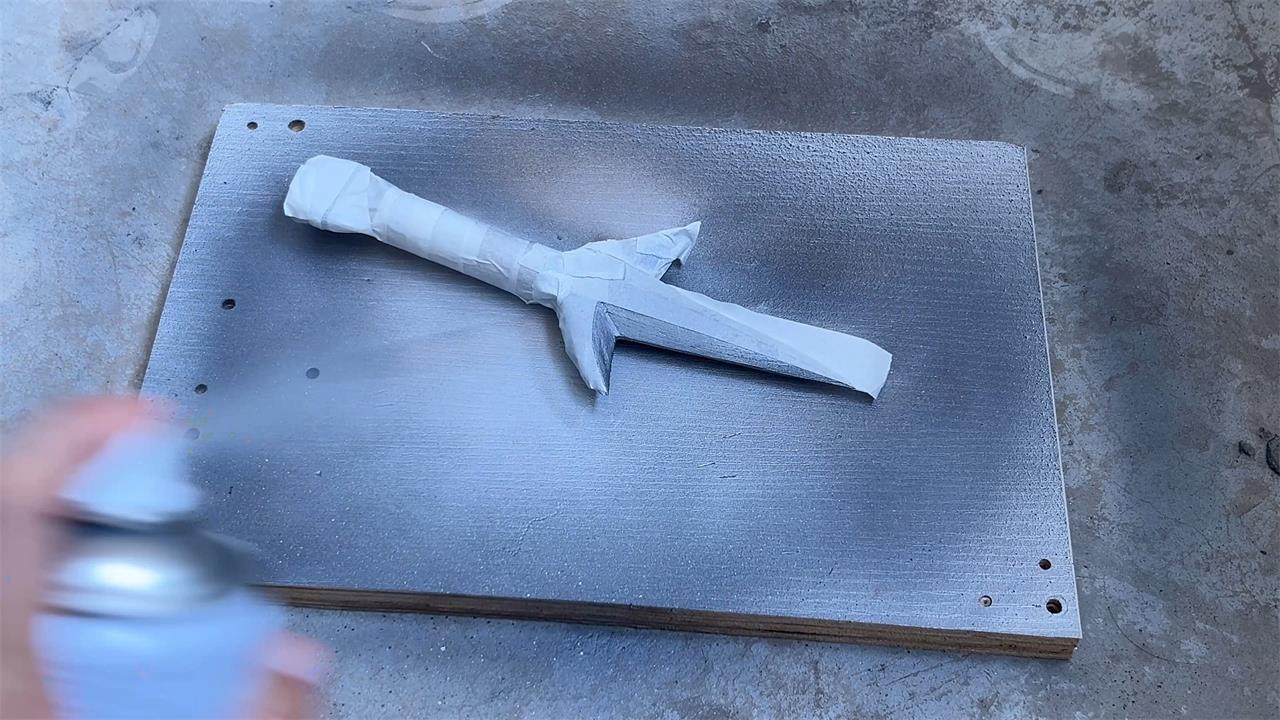
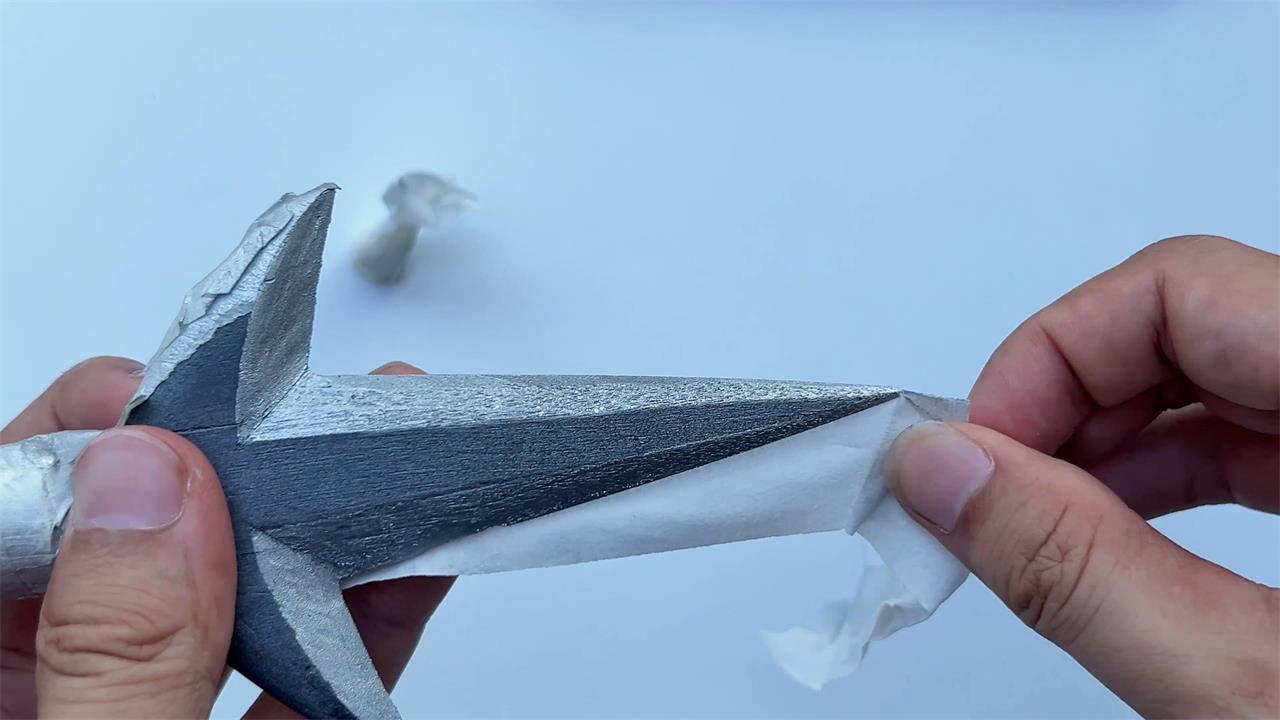
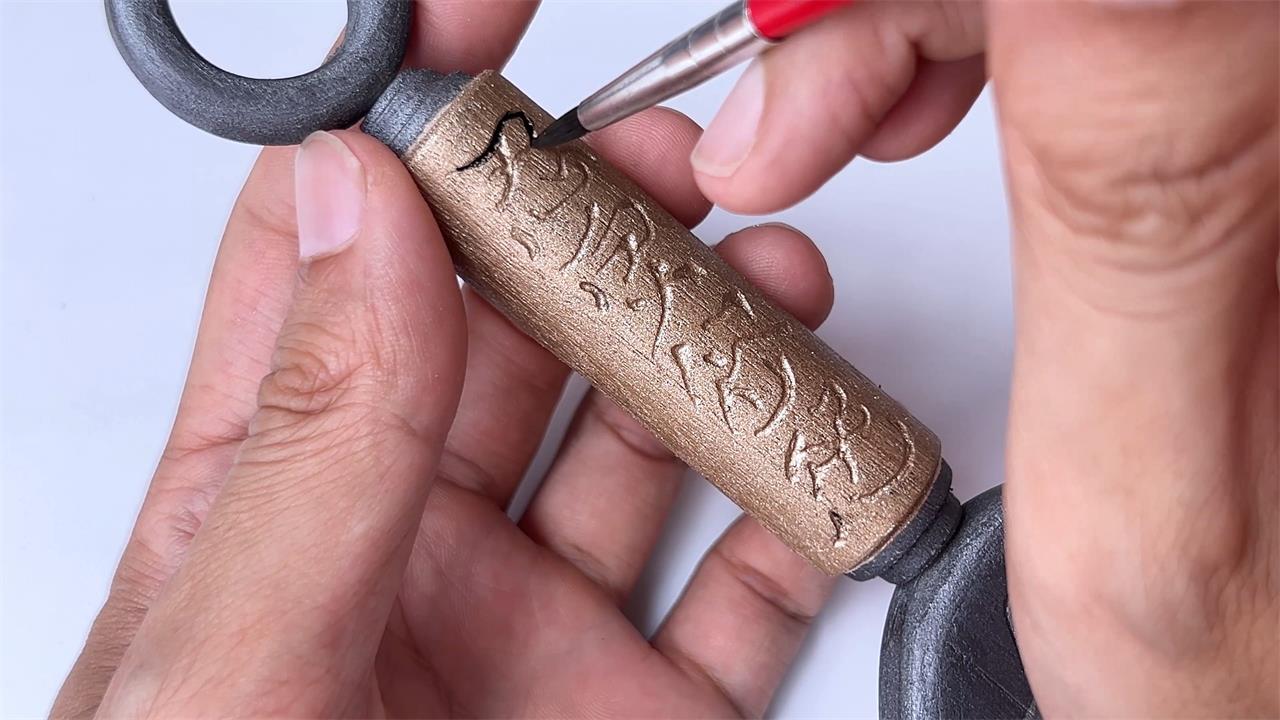
The result looks fantastic. Of course, if you prefer, you can spray a layer of clear coat to give it a shinier finish.
Find a spot to test the final effect.
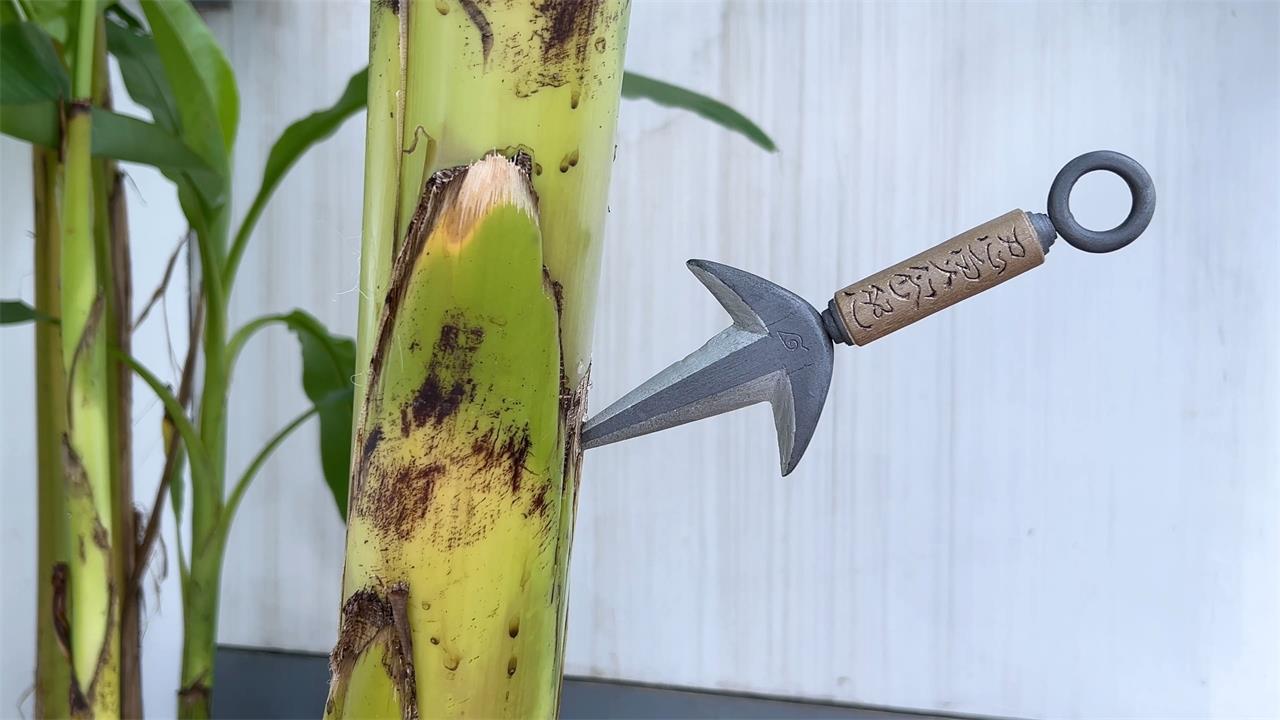
If you’re interested in the detailed process of making the Thunder God Sword, you can check out the full video on my YouTube channel. Thanks for visiting!


